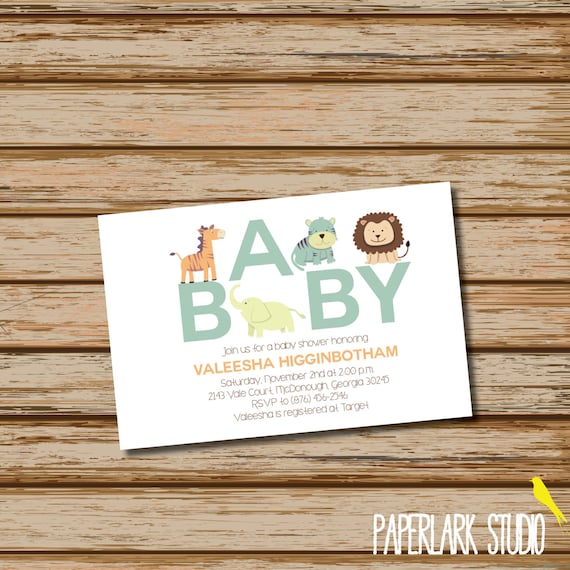
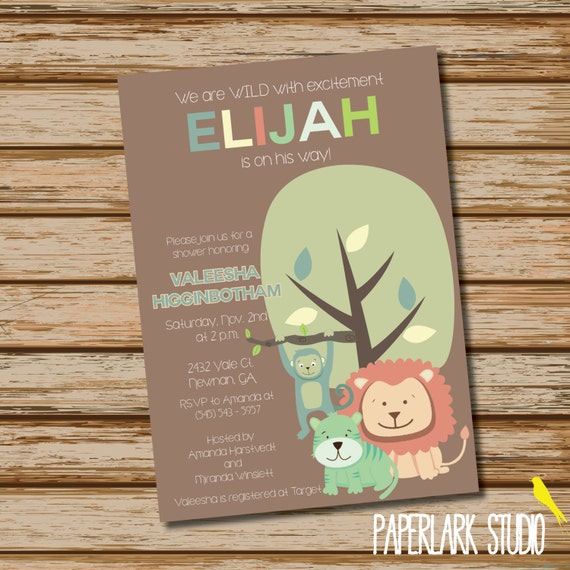
This past Saturday, we celebrated the pending arrival of my nephew, Elijah! The baby shower was hosted by myself and my sister-in-law, Amanda. We decided to go with the jungle theme that our mommy-to-be had selected for his nursery.
I apologize in advance for the crap-tastic pictures. Between all the chaos and excitement, I completely spaced and left the camera at home. The result? iPhone pictures. Eww. I did the best I could, but they definitely don't give it justice!
Anyway, we tried to use the same colors that were in little Elijah's bedding - jungle green, pale yellow and brown.
I designed two invitation choices for our mommy-to-be to choose from. The second was the winner! (Both of these are available for purchase in my Etsy shop here and here.)
Aren't the animals adorable? I used them throughout the shower in the signs for the favors and banana split bar.
That's right! No rumble in the jungle is complete without a banana split bar. We used real, glass ice cream dishes and offered up every type of topping you could ever want.
 |
| Would you like a free download of the sign for the banana split bar? |
You'll notice the tissue pom poms adding some color behind the banana split bar. I absolutely love these. They are my go-to party decor item now. But, please whatever you do, do not pay $5 for one at the store. They are SO easy and quick to make. Seriously, the tissue paper I used was only $1!
What You Need
A pack of tissue paper (8-10 sheets)
Twine
Scissors
Step One. Starting at the short end, fold the tissue paper 1.5 inch wide in an accordion-style.
Step Two. Cut off a piece of your twine and tie around the middle of your folded tissue paper.
Step Three. Take your scissors and cut a point or round it.
Step Four. Carefully pull each piece of tissue paper down, away from the rest - fluffing your pom pom as you go. Do this until you have a full, fluffy pom pom.
Looking for another excellent tutorial on how to make pom poms? Check out this one by Design Dazzle.
The mantel was definitely my favorite part of the baby shower decoration-wise. I had this big, grand plan in my head and for once, it worked exactly like I wanted it to!
I purchased some chipboard letters at Hobby Lobby and painted them using our color scheme. Not only were they a cute addition to my mantel masterpiece, but they can now be used in little E's nursery!
Using some of the twine, I hung up three onesies that had jungle animals on them with green, glittery clothes pins. I taped some vine greenery to hide the twine and placed a stuffed giraffe and lion Amanda had found over the tape that hung the twine.
As for the favors, we gave party guests animal crackers!
The favors are sitting on top of a baby dresser that my sister-in-law, Amanda, painted for Elijah. I absolutely loved the color she used and it worked perfectly to display our favors.
 |
| Would you like a free download of the sign for the favor table? |
I was really pleased with how well everything turned out. Not to mention, we had ALOT of fun celebrating Elijah's pending arrival and seeing all of his tiny little presents.
I can't wait to meet my little nephew now that he has been thrown a proper shin-dig!
Miranda
Monday: C.R.A.F.T., Craft-O-Maniac, Making the World Cuter, Keeping It Simple Crafts, Rain on a Tin Roof, The Dedicated House, Alderberry Hill, Mad in Crafts, I Should Be Mopping the Floor, The Gunny Sack, Home Stories A to Z, Home Coming
Tuesday: Kammy's Korner, Sugar Bee Crafts, Chef in Training, Not Just a Housewife, Him and Her, A Stroll Thru Life, Mad Cap Frenzy, A Bowl Full of Lemons, Coastal Charm
Wednesday: We Like to Learn as We Go, Polkadots on Parade, No Minimalist Here, From My Front Porch to Yours, Yellow Bliss Road, Sew Much Ado, Seven Alive, Simply Designing
Thursday: 52 Mantels, Live Laugh Rowe, A Glimpse Inside, Stone Gable, The Girl Creative, Bloom Designs, Blissful and Domestic, Crafts a la Mode, From My Front Porch to Yours


No comments:
Post a Comment